CNC Plasma | wiring and rack
I received a large shipment of part this week of parts for my project. I still have others on the way but I got quite a bit started this weekend. I started of day with opening up all of the boxes to make sure everything was intact. I then moved on to getting the rack onto the table. This took some creativity to make sure it was on straight so that the pinion stays engaged. There is also an issue with the rack not coming in long enough pieces for the length of my table. With the table being 9 1/2 feet long and the rack only coming in 6 foot pieces I needed to join the ends while maintaining the lead along the length. I came up with the idea to use the piece cut off of the end of another piece of rack to align the pieces together. Since they are the same lead it should work.
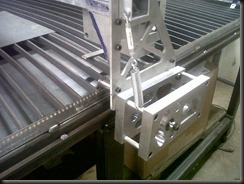
As you notice in the picture you cannot see the splice. it is close to the large c-clamp. After I then welded on the rack to the table I removed the clamps and ran the gantry down the table with the pinion gear engaged and felt no jump of step in the rack. It worked!
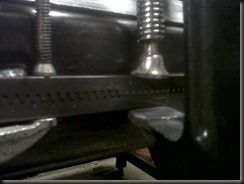
The gear box is kept engaged with the use of spring tension. I also utilized a turnbuckle to set the tension.
now that I had the rack in place it was time to move onto the wiring. I had to first start with getting all of the wire raceway installed. I also came in the shipment. This stuff is very hard to get to connect together, but it will never fall apart.
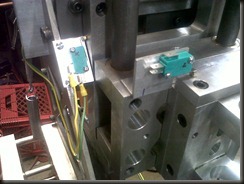
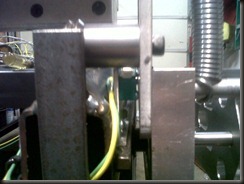
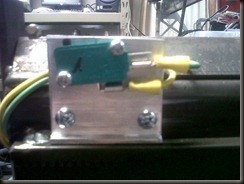
With the raceway installed I then started to run the wiring for the home switches. After deciding where the wiring went to I started to install the switches. Coming up with a good location that does not interfere with travel of the gantry. Here are a couple of pictures of what I came up with for the x, y, and z switches.
As you can see the switch on the table does not have much room in between the gantry and the table. I actuall had to file the head of the screws down to clear the gantry.
After I got the switches installed I proceeded with wiring the switches into the control. My control is from a company called CandCNC. I purchased the Dragoncut 620-5. This is a four axis with a slave drive for the other side of the gantry. I will get some pictures of this as the week goes on and I get more done.

