by Pertneer on June 22nd, 2014
In my last post I started to figure out what the issue was with fuel leaking when the Jeep was running. What I found was the the return line was leaking right next to the sending unit.  After taking out the tank twice in the last month for fuel related issues, I came to the conclusion that I should have replaced both fuel lines when I had it out the first time. Hind site is always 20/20. What I did do was create an access point in the back of the Jeep so I can easily get the sending unit without having to drop the tank every time. It did only take me a couple of hours, but it could have easily been fixed on the trail if I would have had the access panel. I will add pictures of the access panel to this post when I get it completed. I only cut the opening while the tank was out. I will add the hinge and the latch later this week.
Jeep, Projects, Repairs, Upgrades | Comments Off on Jeep fuel Problems | Conclusion | Readmore
by Pertneer on June 21st, 2014
Since my last update I have encountered some more fuel issues. This time a leak. I have not investigated it yet, but here is the issues that I see. When the Jeep is running fuel is pouring out by the gas tank. When it is not running it does not spill a drop. Since it runs fine and does not have a sputter at all I have to assume it is in the return line at the tank. Since I recently had this apart and had to repair the return line fitting on the sending unit I have to assume it was not a good fix or has failed in some way. Once I get the tank removed I will add more content as to the fix I come up with or what I had to do to get it to quick leaking. (more…)
Jeep, Projects, Repairs | Comments Off on Jeep fuel problems | more issues | Readmore
by Pertneer on June 7th, 2014
I attached my Gopro camera to the under side of my Jeep so I could see how much deflection I could see with this new set up.
(more…)
Jeep, Projects, Repairs | Comments Off on Clutch Modification | Readmore
by Pertneer on May 21st, 2014
Sure I know you have seen a million posts about how Jeep steering is very lacking in the control aspect. This is not one of those posts! My steering issues stem from a worn out steering column and as you will find out, a previous owner tried to “fix”. I have that in quotes for a reason. Only after looking at a schematic and figuring out that someone added a washer under the spring that did little, if not cause more issues than before. Because of their bad modification I had to try to come up with something myself. (more…)
CNC, Jeep, Projects, Repairs | Comments Off on Steering | Readmore
by Pertneer on May 21st, 2014
So after a failed trip to the local Napa store I resorted to searching the internet for some more ideas. After not finding what I was looking for I remembered an old set of Stainless steel brake lines that I has on the Jeep at one time.
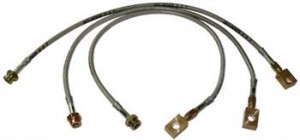
You can also get the line from Advance Adapters to mate directly to the slave too. You can get it in a 42″ or a 60″ length.
I had purchased then ten years ago and changed them because I heard of them failing at unpredictable times while off-road. I had to take off the brake collar to attach one to the Advance Adapters clutch adapter, but I will have an extra to keep in the spare parts bag for trail side fixes. They did end up a little short to reach the slave cylinder but I needed a rigid line to mate it to the slave cylinder anyway.
After getting the line hooked up I found that the material I used to make the mount was a little thin. But with using the CNC Plasma to make the mount I just whipped out two more pieces and welded them together to create a 1/2 inch thick piece. This really helped stiffen the whole setup. On to the next project…Steering
Jeep, News, Projects, Repairs | Comments Off on Clutch Finally | Readmore
by Pertneer on May 13th, 2014
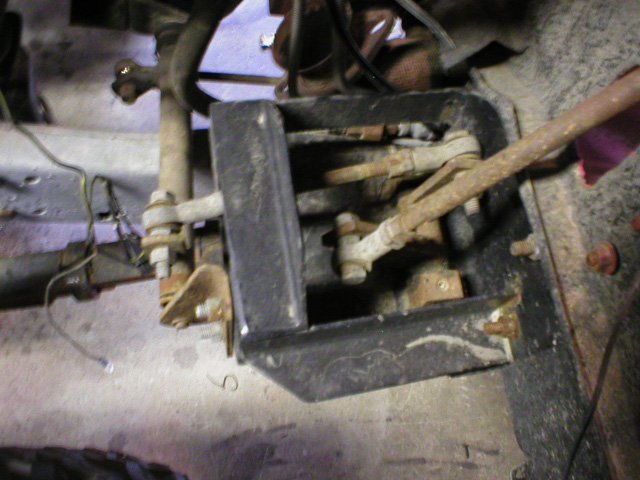
So I worked some more on the Clutch today. The uncomfortable portion up under the dash. This would have been easier if I didn’t have a full cage, The dash was out, and the front seat was not in the way. I pressed through to get this thing done.
First I bolted the YJ master cylinder to the firewall in its original location on the YJ tub. Then the first obstacle presented itself. 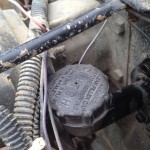 Seams they changed the mounting location that attaches the clutch rod through the fire wall when they went to the hydraulic setup. Easy enough to fix, just drill a new hole. Ya, easier said than done. After doing a little research on how the ped
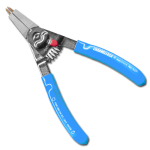 al is held into the mount. It was easier to search on the internet than try to see up under the dash while standing on my head! Looked easy enough, Just needed to take off an external snap ring. Keep in mind I am still standing on my head, hanging on with one hand and trying to pry it off with a screw driver. No snap ring pliers. once the snap ring came flying off and I found it in the tall grass. Ya I need to mow. Where are the neighborhood kids when you need them (LOL). Got the hole drilled and put the pedal back into place only to have to try to put on that stupid snap ring with my bare hands. After fifteen minutes and a bloody finger I took a trip to Farm and Fleet to get a set of 927 Retaining ring Pliers. Well worth the money. I have had cheaper brands that just barely allow you to get a snap ring on before they break, yes I said “A” snap ring. It took me like one try to get the snap ring on while upside down under the dash.
Now that I have this attached to the pedal all I have left to do is get the line hooked up. With the YJ cylinder I will need a hydraulic fitting to couple the stock master cylinder to 7/16 X 24 inv -3 hose.
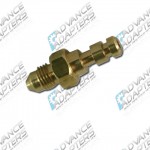
This fitting will allow the use of a standard brake line to connect the master to the slave. We shall see.
927 8″ Convertible Retaining Ring Plier
927 8″ Convertible Retaining Ring Plier
927 8″ Convertible Retaining Ring Plier
927 8″ Convertible Retaining Ring Plier
927 8″ Convertible Retaining Ring Plier
927 8″ Convertible Retaining Ring Plier
927 8″ Convertible Retaining Ring Plier
927 8″ Convertible Retaining Ring Plier
Jeep, Projects, Repairs | Comments Off on Clutch Revisited | Readmore
by Pertneer on May 11th, 2014
I made quite a bit of progress this weekend. I picked up my new slave cylinder this morning from Napa (Part number: NCF 73173). First I spent the time to draw up this slave cylinder to make sure I could make an accurate mount without any issues. It is not a perfect solid model by any means, but the critical dimension are accurate enough that my bracket came out fine.
(more…)
Jeep, Projects, Repairs | Comments Off on Clutch update | Readmore
by Pertneer on May 10th, 2014
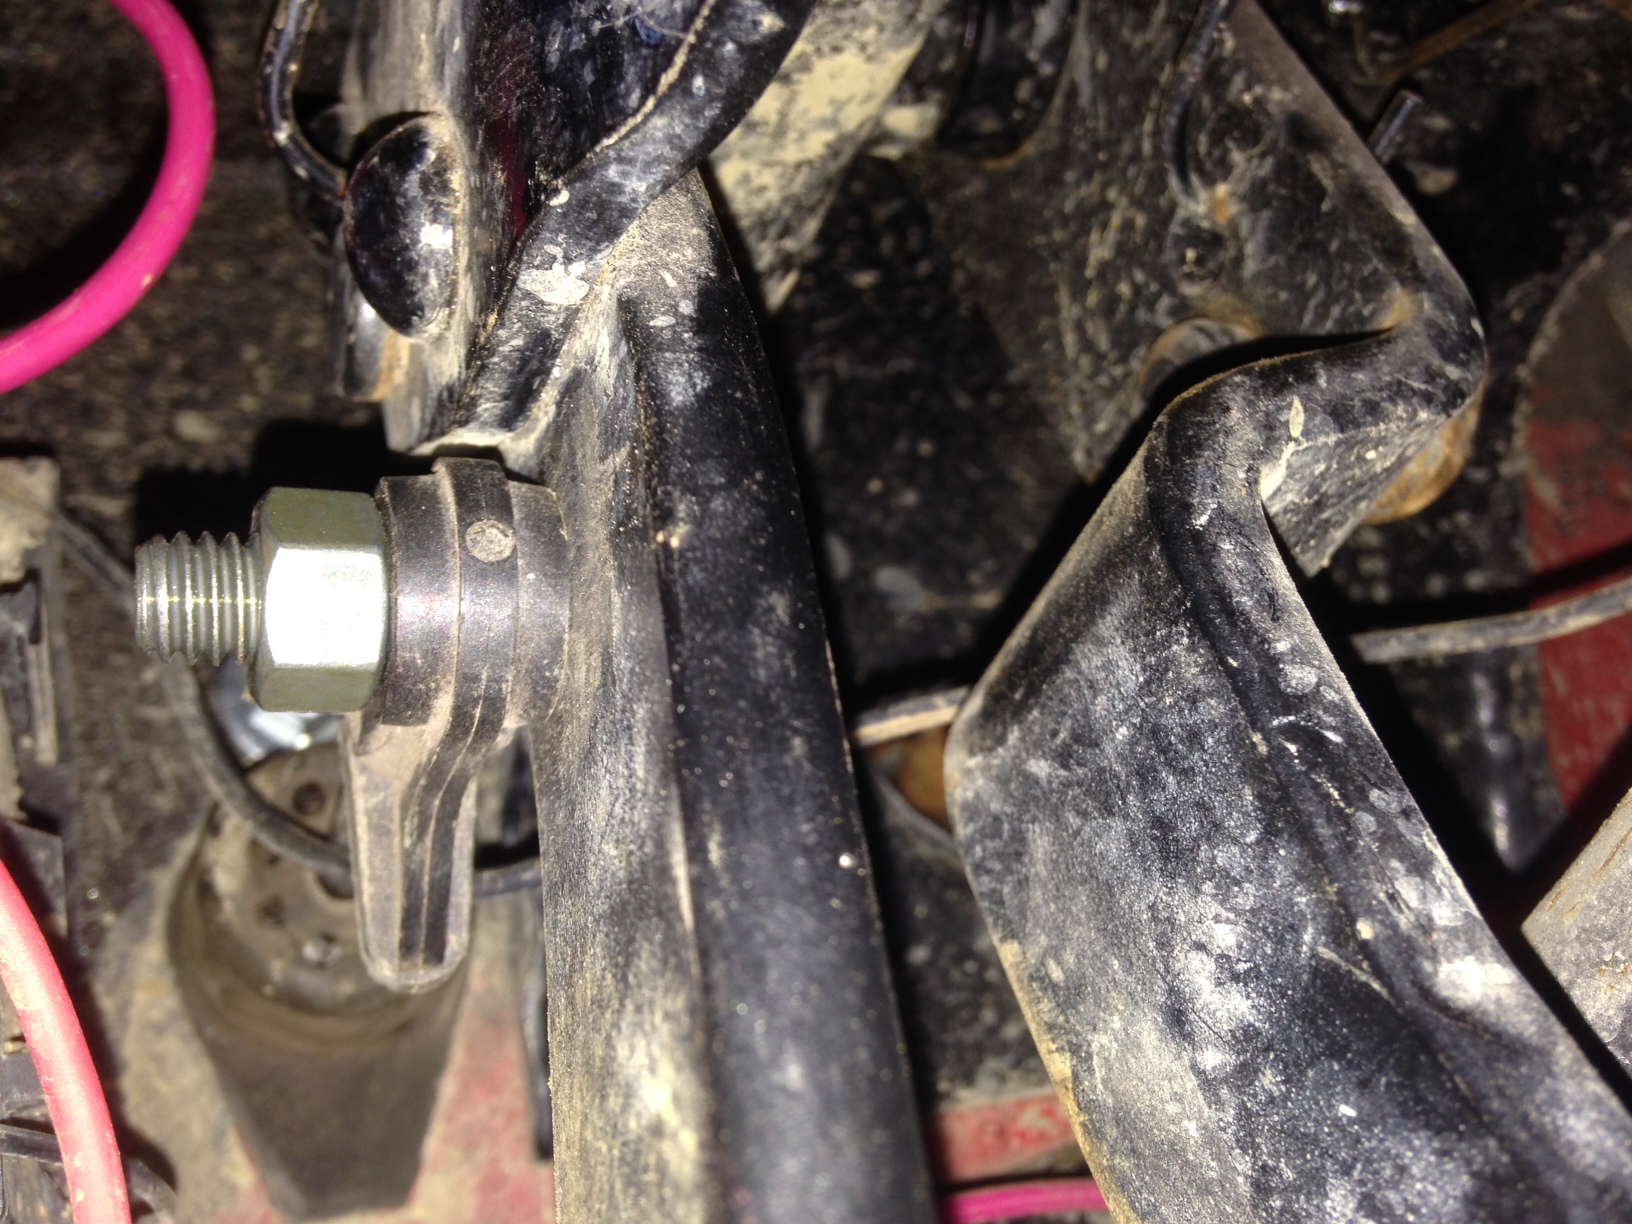
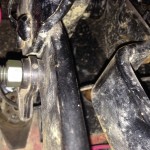
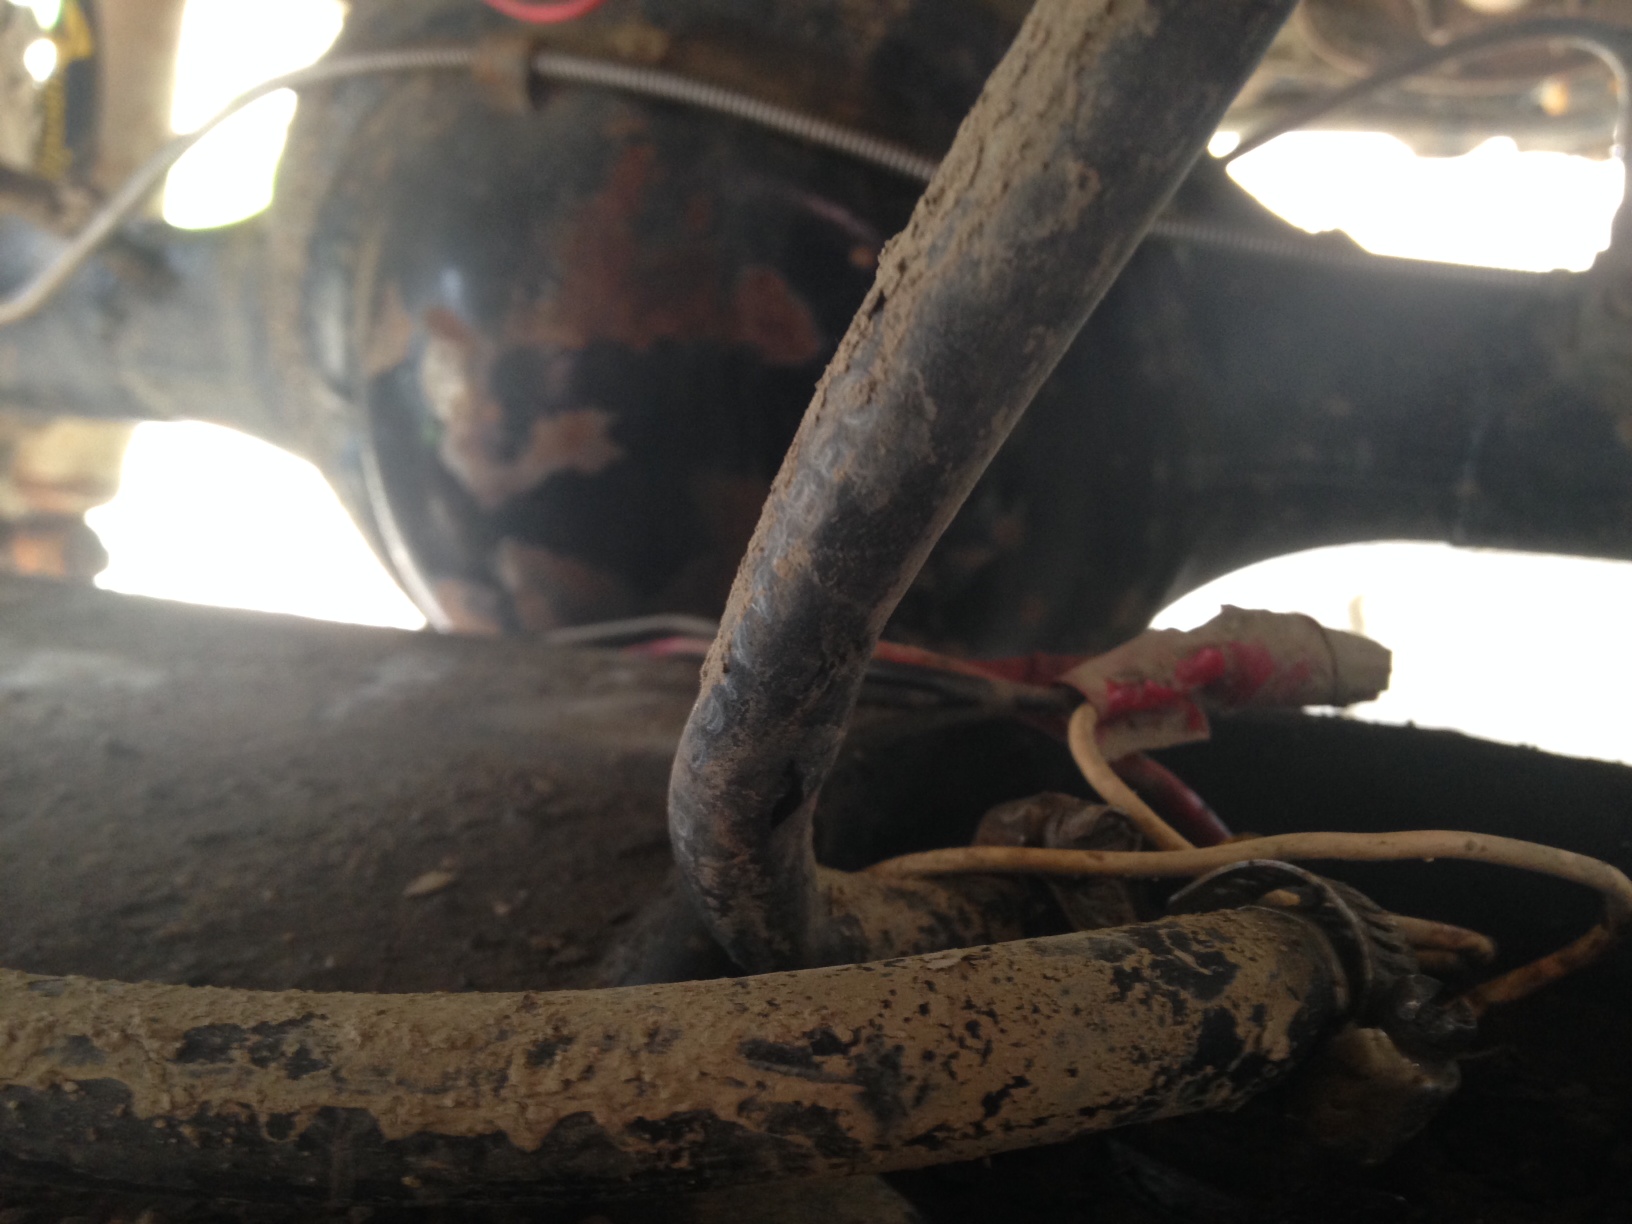
During my recent trip off-road I encountered an issue that I did not have since my last fix. The clutch linkage started to come apart during extreme twisting of the frame. At least four times during the day, at the most inopportune times I might add, it fell apart where the linkage attaches to the side of the motor.  You can see in the image that the setup is mostly custom. I utilized the original CJ7 linkage but had to move it forward enough to go around the exhaust to gain a straight shot to the clutch release arm. The stock plastic bushing and c-clip seam to be the issue and the weak point as it always was when stock. I debated on making a shaft to eliminate this type of connection but without access to the necessary machines anymore I had to go another route. So currently I am gathering parts to replace it with a hydraulic setup. I am planning to utilize the stock YJ master cylinder that I acquired when I purchased to get my body tub years ago and mate it to a CJ slave cylinder. I will determine how to get them connected when I have the slave cylinder in hand. From what I have read it is an easy thing to do, we shall see.
Jeep, Projects, Repairs | Comments Off on Clutch Linkage | Readmore
by Pertneer on May 10th, 2014
After a couple of weeks and a trip off-road I have not seen the outcome that I expected. The wheel that I completely took off of the rim and cleaned and sealed is leaking worse than before. The tire I only unseated the bead and sealed, but did not remove the lock side is still aired up to a reasonable pressure. I am wondering if I did not make sure I tightened the lock in a star pattern and somehow left a leak. It does last about a week which is better than before, but still not what I am looking for. I guess I either need to quit taking it off-road and get new rims or just deal with it. Ya you guessed it I will just keep airing them up all of the time.
Jeep, Projects | Comments Off on Beadlock Update | Readmore
by Pertneer on April 18th, 2014
Initially when I made my beadlocks I did not have any issue with them holding air for long periods of time. Then I used for what i intended, running low air pressure and wheeling in the middle of nowhere. Since them I have been plagued with one or more tire loosing air at varying rates. Today I have done a test to see what help the most.
Since my beadlocks have 32 bolts around the edge of the wheel I found that it takes a lot of time to remove them all. So I spent a little time finding a new tool to help with this. I didn’t want to use an impact because it is a little heavy and the hose hangs up on everything in the driveway. So I found an adapter to hold a 3/8 socket in my drill. Since I didn’t have any and have been looking for a new tool to try I make the excuse to justify the purchase. Not hard to do when the wife is out of town. (more…)
Jeep, News, Projects | Comments Off on Beadlocks | Loosing Air | Readmore
 After taking out the tank twice in the last month for fuel related issues, I came to the conclusion that I should have replaced both fuel lines when I had it out the first time. Hind site is always 20/20. What I did do was create an access point in the back of the Jeep so I can easily get the sending unit without having to drop the tank every time. It did only take me a couple of hours, but it could have easily been fixed on the trail if I would have had the access panel. I will add pictures of the access panel to this post when I get it completed. I only cut the opening while the tank was out. I will add the hinge and the latch later this week.